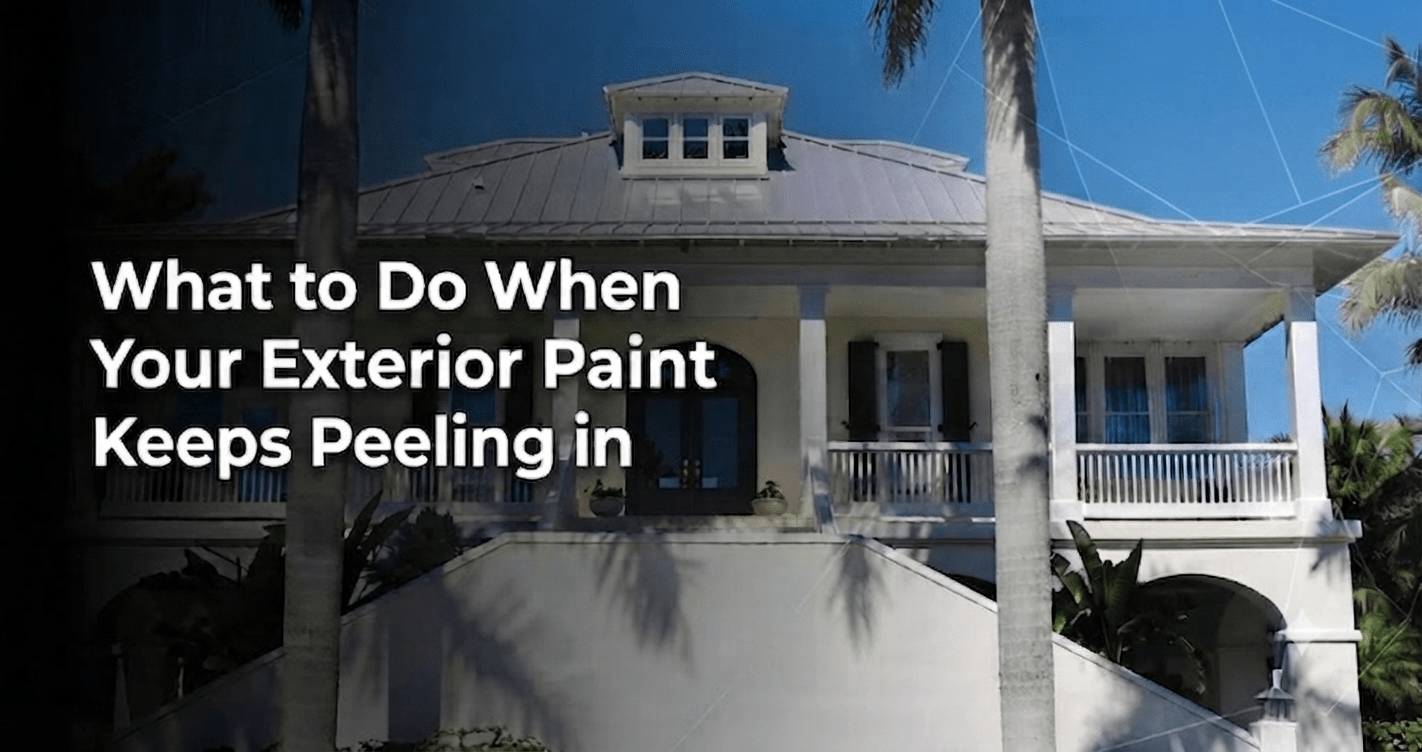
Here is a call we get almost every spring. A homeowner near Milwaukee had the house professionally painted a couple of years back. It looked sharp heading into winter. By the time the snow melts, the same wall is peeling again. Same spot, same frustration.
If that sounds like your house, take a breath. Peeling paint feels like a losing battle, but it is almost always fixable once you find the real reason behind it. And in Wisconsin, the real reason is rarely just bad paint.
At Rhino Shield of Wisconsin, we have been coating homes across the state since 2006, and our crews pull failing paint off walls every week. This guide covers what to do first, why it keeps happening here, and how to stop the cycle for good.
The Short Answer: What to Do First When Your Paint Keeps Peeling
Peeling means the paint film has lost its bond with the surface. Most of the time, moisture got behind it or the surface was never prepped correctly. To fix it, find and stop the moisture source, remove all loose paint, let the surface dry fully, prep and prime, then recoat with a product built for Wisconsin weather.
Your 6-Step First-Response Checklist
- Stop before you paint. Do not recoat a wall that is still failing. You will just repeat the problem.
- Find the moisture source. Check gutters, caulk lines, flashing, and how close the siding sits to the ground.
- Remove all loose and flaking paint. Everything that lifts has to come off.
- Let the surface dry completely. Fresh coating over damp wood peels again fast.
- Prep and prime the bare spots. Sand, make repairs, re-caulk, then use the right primer.
- Recoat with the right system. Correct product, correct temperature and humidity conditions.
Why Exterior Paint Keeps Peeling in Wisconsin (It Is Rarely Just “Bad Paint”)
Most homeowners assume peeling means someone bought cheap paint. Sometimes that is part of it. But when we investigate a wall that keeps failing, the cause almost always sits underneath the paint, not in the can. Here is what actually drives it.
Moisture Intrusion, the Number One Cause
Water is the leading cause of exterior wall damage, and it is the number one reason paint lets go. A paint film needs a dry, sound surface to grip. When water gets behind it, the bond breaks and the paint peels off in flakes or sheets.
This is a bigger deal near Lake Michigan, where lake-effect snow and humidity push the moisture load even higher.
Where Water Actually Gets In
- Failed or cracked caulk around windows, doors, and trim joints.
- Clogged or overflowing gutters that dump water straight down the wall.
- Ice dams that force meltwater up under trim and fascia.
- Siding sitting too close to the ground, where water wicks up by capillary action.
- Interior vapor from bathrooms, kitchens, and basements pushing outward through the wall.
- A leaking roof or failed flashing feeding water behind the surface.
When our crews pull a failing section, the wood underneath is often damp or stained. That tells us the paint was never the real problem. Water was.
Freeze-Thaw Cycles and What Wisconsin Winters Do to a Paint Film
Wisconsin does not freeze once and stay frozen. The temperature swings above and below freezing again and again through the season. That constant movement is brutal on any paint film.
The Expansion-and-Contraction Problem
Every freeze-thaw cycle, moisture trapped in and behind the paint freezes and expands, then thaws and contracts. Wood and paint expand at different rates, so the two layers pull against each other.
Do that a few dozen times over one winter and the bond simply fatigues until it fails.
Ice dams make it worse. Snow melts higher on a warm roof, runs down, and refreezes at the cold eaves. That backed-up water works its way under trim and behind the paint film.
This is why a coat that looked perfect in October is peeling by April. It is usually not the paint quality. It is the climate working the seam loose.
Poor Surface Prep and Adhesion Failure
Paint is only as good as what sits under it. Skip the prep and the bond never had a chance to form.
Common shortcuts we see:
- Painting over chalky, dirty, or glossy surfaces.
- Not scraping off old, already-failing paint.
- Skipping primer on bare wood.
- Leaving gaps and joints un-caulked.
Prep is slow and unglamorous, so it is the first thing a rushed job cuts. It is also the number one reason we get called back to fix someone else’s work.
The Wrong Product or Incompatible Layers
Sometimes the failure is baked in before the brush touches the wall. Interior paint used outside. Latex rolled straight over old oil-based paint with no bonding primer. One thin coat stretched to cover two coats’ worth of wall.
Layers like these never truly bond to each other. So they shear apart, often peeling away in clean sheets.
UV Exposure and Simple Age
South-facing and west-facing walls take the most sun. Over time, UV rays break down the binder that holds the paint together.
As that binder degrades, even a good coat turns brittle, loses flexibility, and starts to release. Given enough years, age alone will peel a wall.
How to Tell Which Cause You Have
You can often self-diagnose by where and how the paint is peeling. Use this as a quick guide.
| What you see | Most likely cause |
| Peeling below a gutter, valley, or downspout | Water running down the wall |
| Peeling on the north or shaded side | Slow-drying moisture and ice-dam zones |
| Peeling on the sunny south or west side | UV exposure and age |
| Paint curling off in clean sheets | Incompatible layers or no primer |
| Bare, damp, or dark wood under the paint | Active moisture, stop and find the source |
If you see damp or discolored wood, treat it as a moisture problem first. Painting over it will not hold.
Is Peeling Paint Serious? What Happens If You Ignore It
Peeling paint is your home’s first layer of defense failing. Once bare wood is exposed, water gets in without anything slowing it down.
From there it tends to cascade. Exposed substrate lets water soak in. The wood swells and starts to rot. Mold and mildew grow behind the film where you cannot see them. The repair moves from a paint job to carpentry.
In Wisconsin, the moisture load is high and freeze-thaw drives water deeper into the wall. That means ignoring peeling here gets expensive faster than it would in a dry climate.
None of this is meant to scare you. A small peel caught early is a cheap fix. The same wall left through two winters can mean replacing trim or siding.
How to Fix Peeling Exterior Paint, Step by Step
This is the practical part. Follow it in order, and do not rush past the first step, because that is the one almost everyone skips.
Step 1, Find and Fix the Moisture Source First
If you paint before the water stops, you are painting a countdown. Clean the gutters, redirect downspouts, re-caulk failed joints, and repair any bad flashing.
Pull soil and mulch back from the siding, and deal with high interior humidity. Fix the water path before anything else touches the wall.
Step 2, Remove All Loose and Failing Paint
Scrape off everything that lifts, then feather the edges so you cannot feel the transition between old paint and bare surface.
If it keeps peeling as you scrape, keep scraping. Half measures peel again by next spring.
Step 3, Clean the Surface and Let It Fully Dry
Wash off dirt, chalk, and any mildew. Then let the surface dry completely, which can take several days after rain in our climate.
A moisture meter is worth using here. Coating over damp wood is the fastest way back to square one.
Step 4, Sand, Make Repairs, and Re-Caulk
Sand glossy or rough areas so the new coat has something to grip. Replace any soft or rotted wood before you go further.
Re-caulk the gaps around windows, doors, and trim with a quality exterior caulk. Sealed joints keep the next round of water out.
Step 5, Prime Bare Areas Correctly
Bare wood and repaired spots need the right primer. A bonding or vapor-permeable primer seals the surface and gives the topcoat something to hold onto.
Skipping primer on bare wood is close to a guaranteed repeat failure.
Step 6, Recoat with the Right Product and in the Right Conditions
Use a coating built for temperature swings and moisture, and follow the temperature and humidity window printed on the label.
Two proper coats beat one thin one. Do not paint in direct heat, high humidity, or late in the day when evening dew is on the way.
When to Do This Yourself and When to Call a Pro
DIY is reasonable when the peeling is a small, dry, sound patch on accessible single-story siding, the wood is solid, there is no mold, and the same spot has not failed before.
Call a professional when:
- The wood is soft, spongy, or crumbling.
- There is mold or a musty smell behind the paint.
- The peeling keeps coming back no matter how often you repaint.
- The work is high up or spread across multiple stories.
- The home was built before 1978.
That last point matters. Homes built before 1978 can have lead-based paint, and disturbing it comes with rules. The federal EPA Renovation, Repair and Painting (RRP) Rule requires lead-safe work practices and certified contractors. Do not dry-scrape or sand old lead paint yourself. You can read the requirements at epa.gov/lead.
Why Some Wisconsin Homes Keep Peeling No Matter How Often They Repaint
Here is the part most articles skip. Some homeowners do everything right. They prep, they prime, they hire a good painter. And the wall still peels every few years. That is not bad luck. There is a reason.
The Trapped-Moisture Problem and Why Breathability Matters
Think of a wall like skin. It needs to breathe. Water vapor from inside the home, and from any damp wood in the wall, has to escape somewhere.
Seal that wall with the wrong film and the vapor gets trapped. It builds up behind the paint and pushes the coating off from the back. The surface can look fine while the bond quietly lets go underneath.
The fix is a coating that is vapor permeable. It lets moisture vapor pass out while still blocking liquid water from getting in. That balance is exactly what standard paint often gets wrong in a wet, freezing climate.
The Real Cost of the Repaint Cycle in Wisconsin
The economics are simpler than they look. Quality exterior paint in this climate usually lasts around 3 to 7 years before it needs redoing.
Stretch that across 25 years and you are looking at four, five, or more repaint jobs. Each one carries its own prep, labor, and setup cost.
A single high-build coating system done once changes that math. The upfront number is higher, but you are not paying for the cycle over and over.
The exact figures depend on your home’s size and condition. The point is the pattern, not a fixed dollar amount.
A Longer-Lasting Alternative to Repainting
If you are tired of the repaint cycle, this is the system we install instead of paint. We will keep it straight and let you decide.
Rhino Shield is a ceramic coating, not paint. It is a high-build acrylic-urethane formula blended with ceramic microspheres that bonds to the surface and stays flexible over time. It goes on like paint but is built to behave very differently once it is on the wall.
What makes it relevant here is that nearly every feature answers a specific cause of peeling.
How a Ceramic Coating Handles Freeze-Thaw and Moisture
The coating is elastomeric, which means it expands and contracts with the surface through temperature swings instead of cracking. That is the exact freeze-thaw movement that breaks ordinary paint.
It is vapor permeable, so it lets moisture vapor escape while blocking liquid water. That directly addresses the trapped-moisture failure we covered above.
It is high build. Measured in mils, it goes on roughly 8 to 10 times thicker than paint, so it resists the thinning and cracking that let water in. It also resists mold, mildew, and algae, and carries a Class A fire rating under ASTM E84 testing.
What Proper Prep and Installation Looks Like
The coating matters, but honestly, prep is why it lasts. Our team follows an 11-step surface preparation and application process. Here it is in short:
- Comprehensive exterior inspection
- Structural repairs and surface restoration
- Paint removal, scraping, and sanding
- Controlled pressure washing
- Premium elastomeric caulking
- Surface protection and masking
- Vapor-permeable primer application
- High-build ceramic coating application
- Detailed finish work and touch-ups
- Complete job-site cleanup
- Final quality inspection
Notice that step one is inspecting for the moisture source. That is the step that makes everything after it hold.
The finished system is backed by a 25-year transferable warranty that covers labor and materials against chipping, cracking, and peeling. If you sell the home, the next owner keeps that warranty.
You can read more about what Rhino Shield is, the full installation process, and the warranty details if you want to go deeper.
How We Diagnose and Solve Chronic Peeling on Wisconsin Homes
When a homeowner calls us about paint that keeps failing, we do not start with paint. We start with the water.
The pattern we see most often is telling. Peeling concentrated below a clogged gutter line. Failure clustered around ice-dam zones on the north side. That kind of clustering tells us the paint is a symptom, not the disease.
A real inspection traces it back. We look at where the peeling gathers, take moisture readings, follow the gutters and flashing, and check for interior humidity sources. We find the water path first, fix it, then coat.
Take that Milwaukee homeowner from the top of this article. When we inspected the wall, the peeling lined up almost perfectly under a gutter seam that had been overflowing for years. The paint never stood a chance. Fix the water, prep it properly, coat it, and the wall stays put.
Our co-owner Mike Moore has spent more than 25 years in coatings and inspection, and he is a certified coating inspector through NACE and AMPP. He puts the most common mistake simply: people keep painting over a moisture problem and expect a different result. Find the water first, and the rest is prep and patience.
That is the difference between a wall you repaint every few years and one you fix once.
Frequently Asked Questions
Can I just paint over peeling paint?
No, not if you want it to last. Painting over loose or failing paint traps the problem, and the new coat peels off with the old one. Remove everything that lifts, fix the moisture source, then prep, prime, and recoat the bare areas. Painting over peeling paint only hides it for a season, and in Wisconsin that season is short.
Why does my exterior paint peel every winter?
Because Wisconsin’s freeze-thaw cycle attacks the bond. Moisture behind the film freezes, expands, thaws, and contracts over and over, and the paint and wood move at different rates until they separate. Ice dams and trapped meltwater make north-facing and eave areas worse. If it peels every winter, there is almost always a moisture path to fix, not just paint to replace.
Does peeling paint mean I have water damage?
Often, yes. Peeling is one of the first visible signs that water is getting behind the surface. It does not always mean rot yet, but it means the barrier has failed and moisture has a way in. The longer it stays open, the higher the risk of swollen wood, rot, and mold. A quick inspection tells you whether it is surface-level or something deeper.
How do I stop my paint from peeling permanently?
Stop the moisture, prep properly, and use a coating built for the climate. Standard paint in Wisconsin usually needs redoing every few years. A vapor-permeable, elastomeric ceramic coating like Rhino Shield flexes with temperature swings, lets vapor escape, and goes on far thicker than paint, which is what ends the repeat cycle for most homes.
Is peeling paint a sign of mold?
It can be. Trapped moisture behind paint is exactly the condition mold and mildew need to grow. Sometimes you will see dark staining or notice a musty smell where the paint is lifting. If the wood is soft, discolored, or smells off, treat it as a moisture and mold issue, not just a paint issue, and have it looked at before recoating.
How much does it cost to fix peeling paint in Wisconsin?
A small repair-and-repaint can be a modest cost. A full exterior coating system runs more upfront. For reference, Rhino Shield in Wisconsin typically falls between $8 and $15 per square foot, depending on home size, siding type, condition, and prep needed. The trade-off is that you are not paying to repaint every few years afterward.
When is the best time to repaint or recoat in Wisconsin?
Late spring through early fall is the window. You want dry surfaces and daytime temperatures inside the coating’s recommended range, with no freezing overnight. Avoid working on damp walls, in high humidity, or late in the day when dew sets in. For most exterior work in Wisconsin, that means roughly May through September.
Stop the Peeling Cycle for Good
Before you spend another dollar on paint, find out why it keeps peeling. Our free exterior inspection traces the moisture path and tells you honestly whether you need a simple repair, a full repaint, or a coating that ends the cycle.
No pressure, no obligation. Just a clear answer about what your home actually needs.
Rhino Shield of Wisconsin (Wisconsin Coating Professionals) Serving Southeastern and Eastern Wisconsin, including Milwaukee, Waukesha, Brookfield, Sheboygan, Appleton, and surrounding areas.
- Address: 522 W Main St, Newburg, WI 53060
- Call or text: (262) 483-2566
- Hours: Monday to Friday, 9:00 AM to 4:00 PM
- Online: rhinoshieldwis.com
Book your free exterior inspection
We are BBB accredited, veteran-owned and operated, fully licensed and insured, and an authorized Rhino Shield dealer that has protected more than 2,000 homes across the state. Ask us about current seasonal savings and 0% financing when you call.